Now that we covered a small tidbit in the last piece on a very unique indicator situation, let’s expand upon the topic some as I discuss the types of indicators that I personally like and the pros and cons of each. Disclaimer; the type of indicator you choose is entirely by personal preference. If indicator fishing is something you’re very well versed in, then you know all too well that pretty much all indicator types will sacrifice one attribute in order to excell in another. My suggestion is carry a variety in your pack or vest as there truly isn’t a perfect single option out there, and hopefully I will clearly and concisely articulate which one will fit the situation you are presented.
Stick on or Palsa Indicator
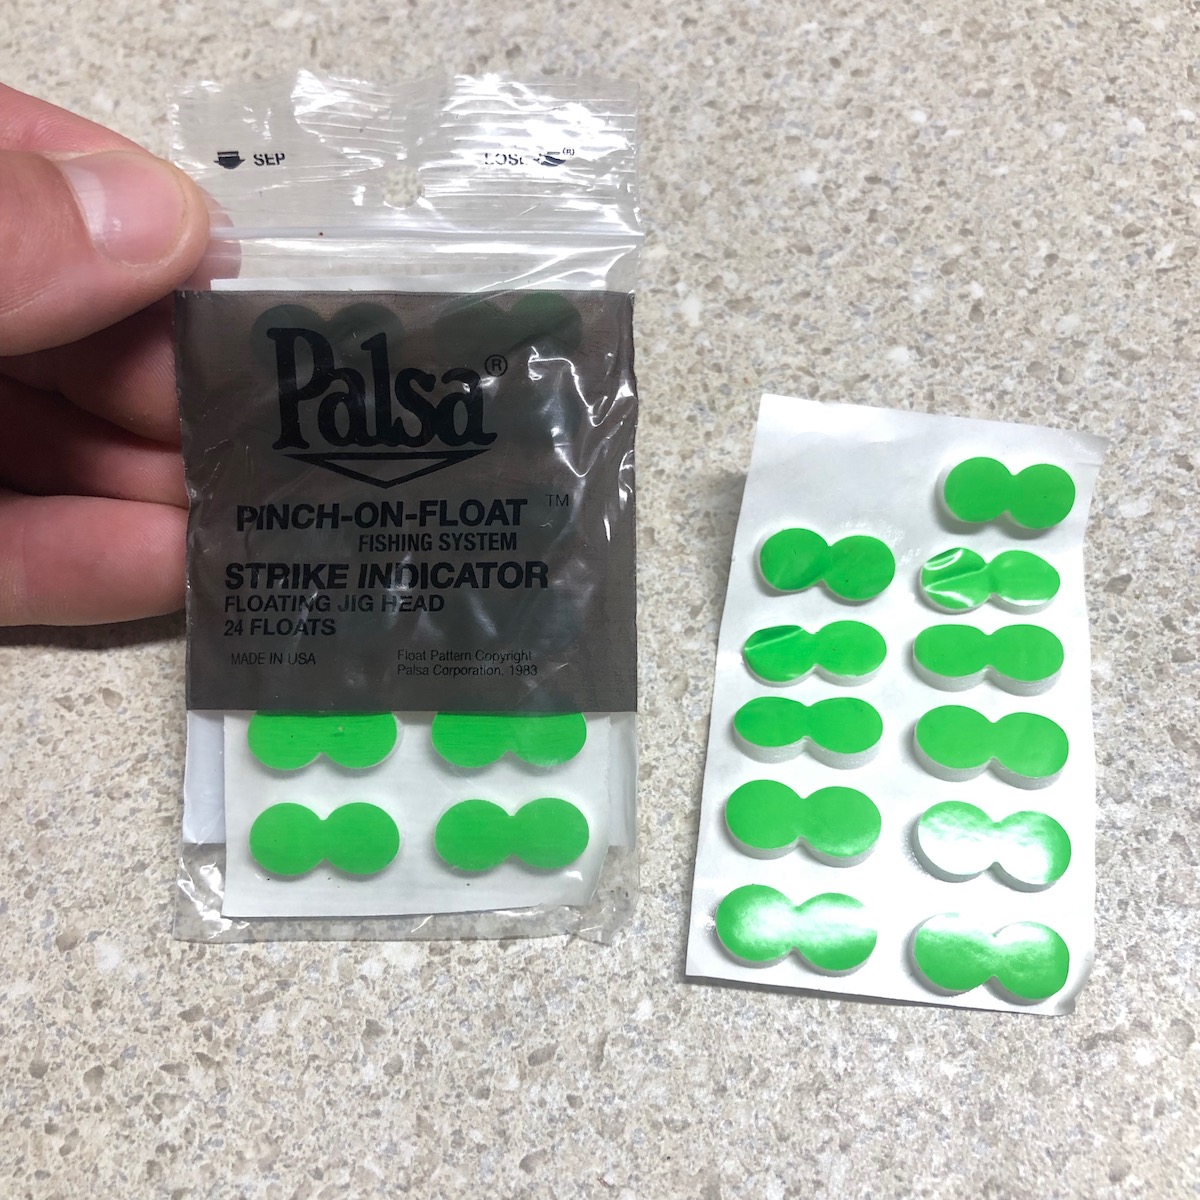
The stick on style, also known as the Palsa Indicator is one that I always have a packet or two kicking around in my hip pack when nymph fishing. They take up little to no room in a pocket and are a viable micro indicator in a pinch. They are easily stuck to your leader by removing the paper backing from the adhesive side, folding them over and sticking the tacky side to itself. The foam is rather light and they are approximately 1/4” in diameter so they impede your casting very minimally at best. If you know you will be fishing a very constant depth that will not need changing then these will fit your needs. The biggest problem with these style of indicators is just that, once affixed to your leader they cannot be adjusted so they are very limited in versatility. The sensitivity and minuscule size of these however makes them a very viable option when fishing slower margins with micro nymphs under a variety of situations including the winter months when a trouts metabolism slows and they take up primary residence in just that type of water. The other drawbacks to these indicators are a little more obvious; they gum up your leader with a tacky adhesive, one time use only, they will not suspend with heavier flies or weight, and they can slip off easily once water logged. There are some techniques utilizing multiple Palsa indicators spaced evenly along your leader that can be used, but otherwise look at these indicators as a quick pinch in some very specific situations like in the article from last week.
Air-lock Indicator
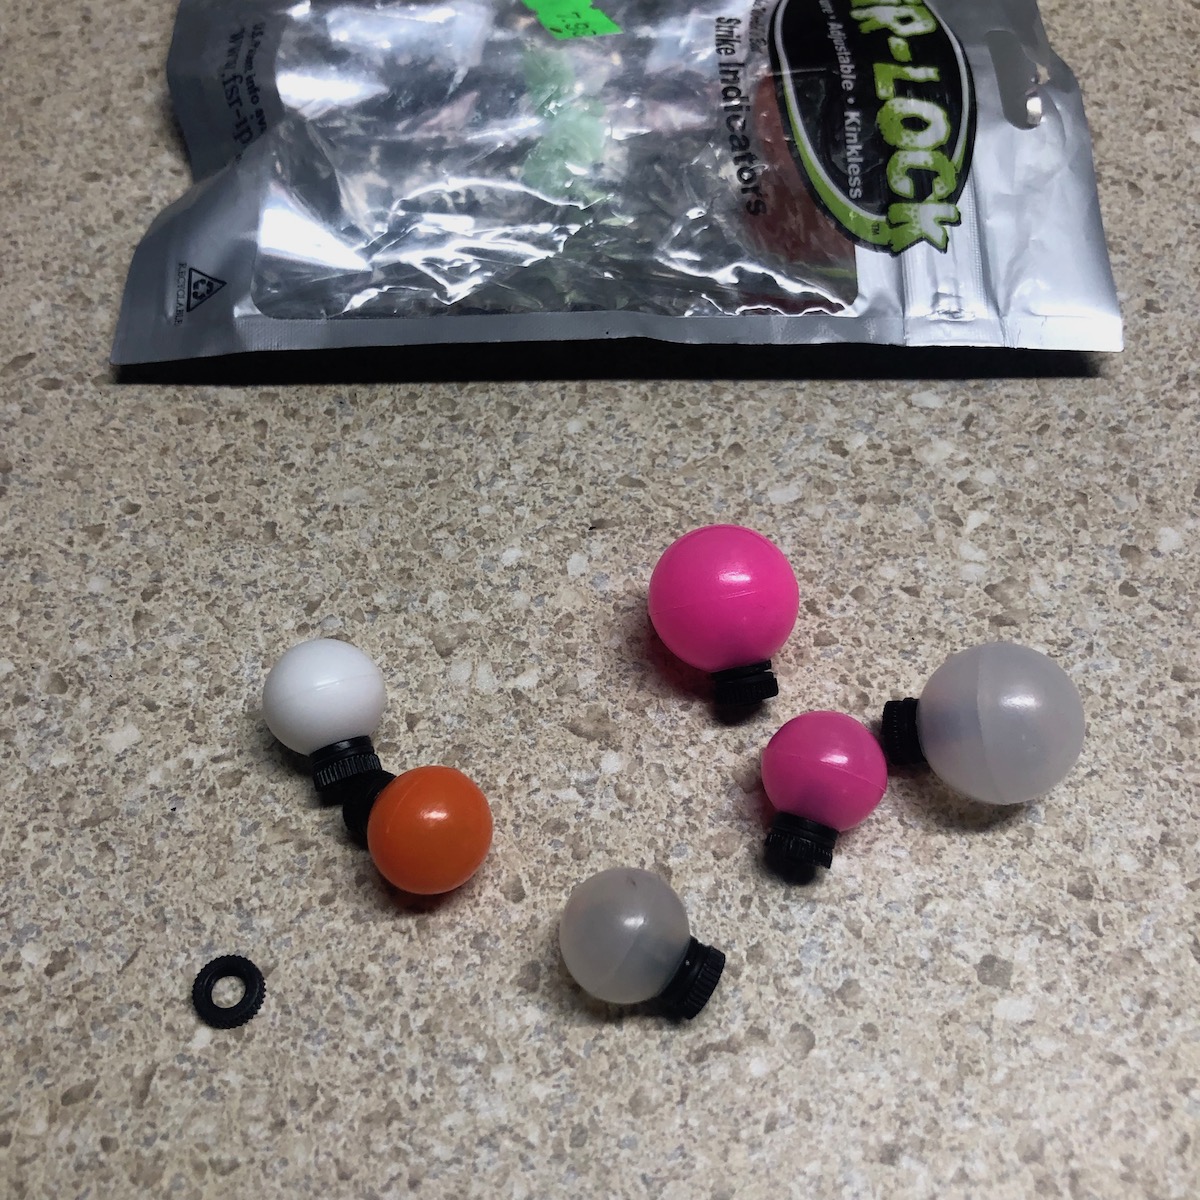
The Air-lock indicator has become my only choice when it comes to rigid indicators. Many are fans of the Thingamobobber, but I never quite liked those much. Simple reason is you are forced to loop your leader through a hole and around the indicator to lock it in place, and whenever you do this you inherently create a kink in your leader. Secondly, if you have to slide these types of indicators lower on your leader on thinner diameter material, they simply just do not hold. Typically if I have to turn to a hard indicator, I want something that is going to maintain its position on my leader so that I do not have to constantly make adjustments after every cast. The Air-lock indicator does precisely that and it comes in a rather wide variety of sizes as well. The whole premise behind the design works on a pair of rubber grommets or o-rings that seat your tippet onto a post that is threaded like a screw. Down the middle of the post is a groove that you place your tippet into and then screw the cap down to sandwich your tippet between the two grommets in a straight line so there are no kinks in your leader. The beauty of the system is it not only leaves your tippet and leader kink free, but it actually holds as well and you won’t spend time readjusting the depth at which you set your indicator; basically set it and forget it and fish on. The other plus is they come in four sizes from a small 1/2” diameter (the size I use the most) up to a whopping 1.25” diameter which can suspend an anchor in the heaviest of water. The down side to these indicators for me any way is they are essentially a rigid plastic sphere with trapped air. These can often be clunky and not the most delicate of a presentation when landing on the surface of the water, and from my experiences rigid indicators although float very well are usually on the lower end of the sensitivity spectrum. If I am fishing this time of year in lower water conditions and targeting fish in the slower margins, these are my last ditch resort indicators. Otherwise if the water is heavier and I need to use more weight, these are my indicators of choice.
Yarn Indicators
Yarn indicators are nothing new but they are a type of indicator that from my experiences I just cant leave home without. The biggest pro with a yarn indicator is hands down the level of sensitivity they offer. Even the slightest touch of your nymphs will be seen in the yarn. Depending on what kind of yarn system you use will dictate the number of pros and cons. From my experiences, the Dorsey yarn system is the best system for the simple fact that it doesn’t kink your line like the store bought o-ring type yarn indicators. The other beauty of the Dorsey system is the angler controls the size of the indicator based on the amount of yarn you use in the indicator and how long you leave the fibers. Personally I like the fibers short and dense, and a small yarn comb or section of Velcro works well to brush it back to life if it gets water logged. Mucilin, Gink or Loon’s Aquel all work well as floatants and can easily be worked into the fibers to help these stay afloat. Personally, I like to treat my yarn prior to fishing, like the day prior so the floatant has a chance to dry out. If I have the time, and can pretreat them, then I will typically use Flyagra as it is the best gel/liquid floatant that I have used when applied in this manner.
Balloon Indicator
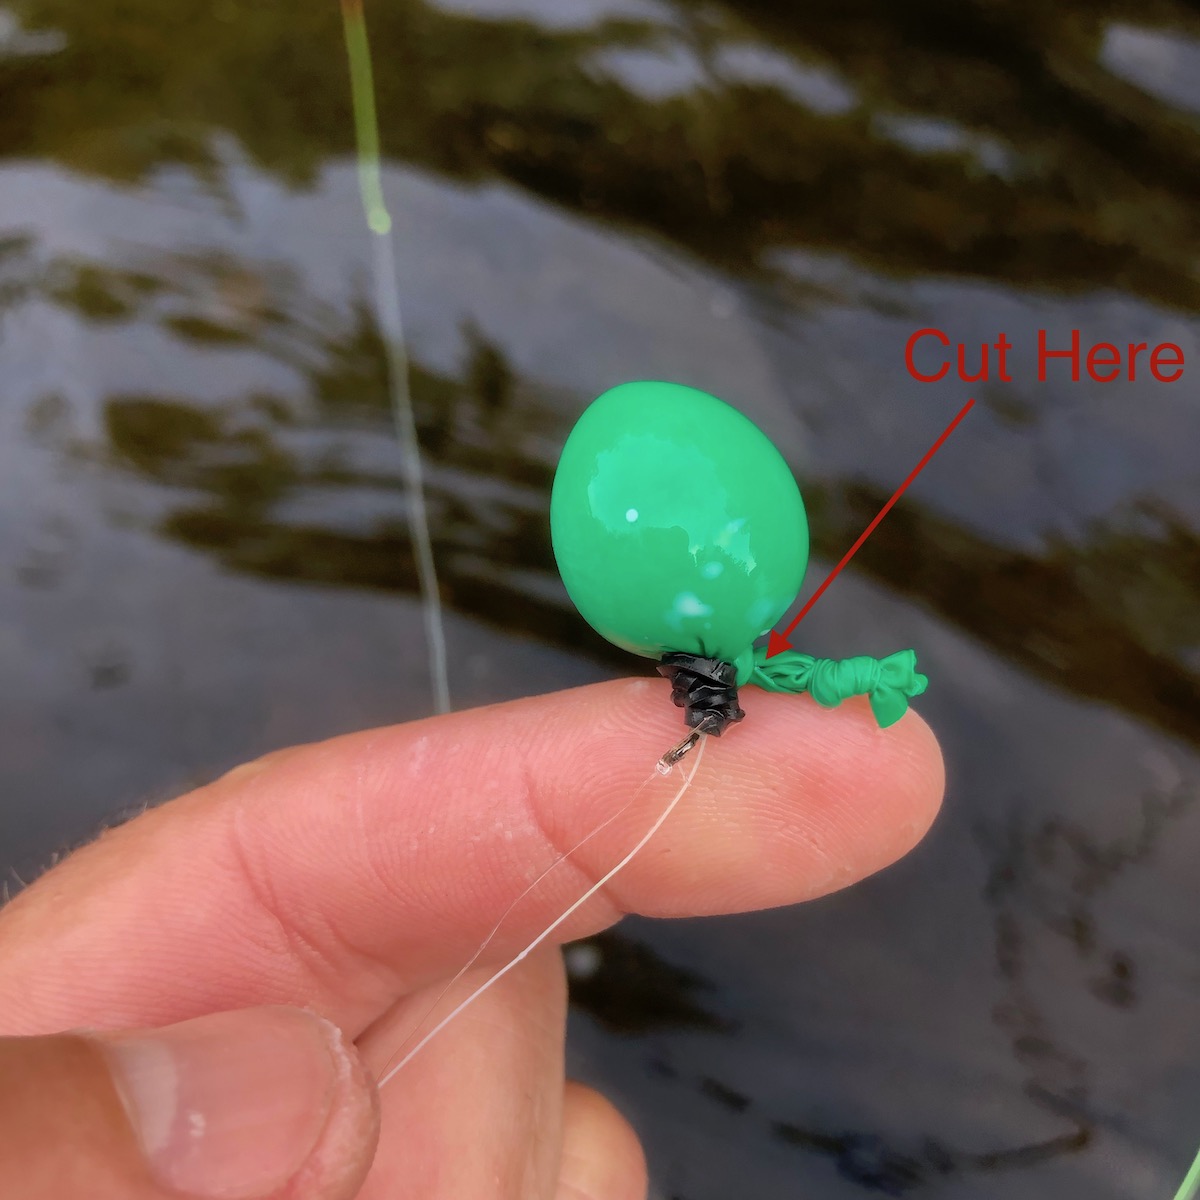
The last style of indicator that I am fond of is the balloon. My buddy Mike turned me onto these years ago and since then I have always liked these. For a less than ten dollars you can get yourself a bag of 500 water balloons which will in essence last you several seasons of fishing. The trick to making your balloon indicator is to keep them small, I don’t like to inflate them anymore than the size of a quarter, more often than not a nickel sized balloon is all I need and not only will float a good amount of weight but are as sensitive as yarn. The downside to these however usually lies in how you affix them to your leader. Mike used to buy small black rubber O-rings like the ones you’d see on most commercially sold yarn indicators. The key to those is you wanted to purchase them in sizes less than a quarter inch, and when you tied off the balloon you’d simply tie them around the O-ring. We all know that whenever you loop your leader through and around them you would inevitably kink your leader so I borrowed Pat Dorseys yarn idea and translated it to the balloon indicator with great success. I personally like to use the micro rubber bands that my daughters use for hair ties when they braid their hair. I stumbled upon these one day snagged a couple and now that’s all I use to affix them to the leader. For about six dollars you can get a bag of 500 of these little rubber bands that can be reused as well. For a great video on how to set up the Dorsey Indicator system, check out this video from the guys at Troutbitten. The only real drawback to affixing them this way is they will still slide around when dealing with smaller diameter tippet, so build your leaders accordingly.
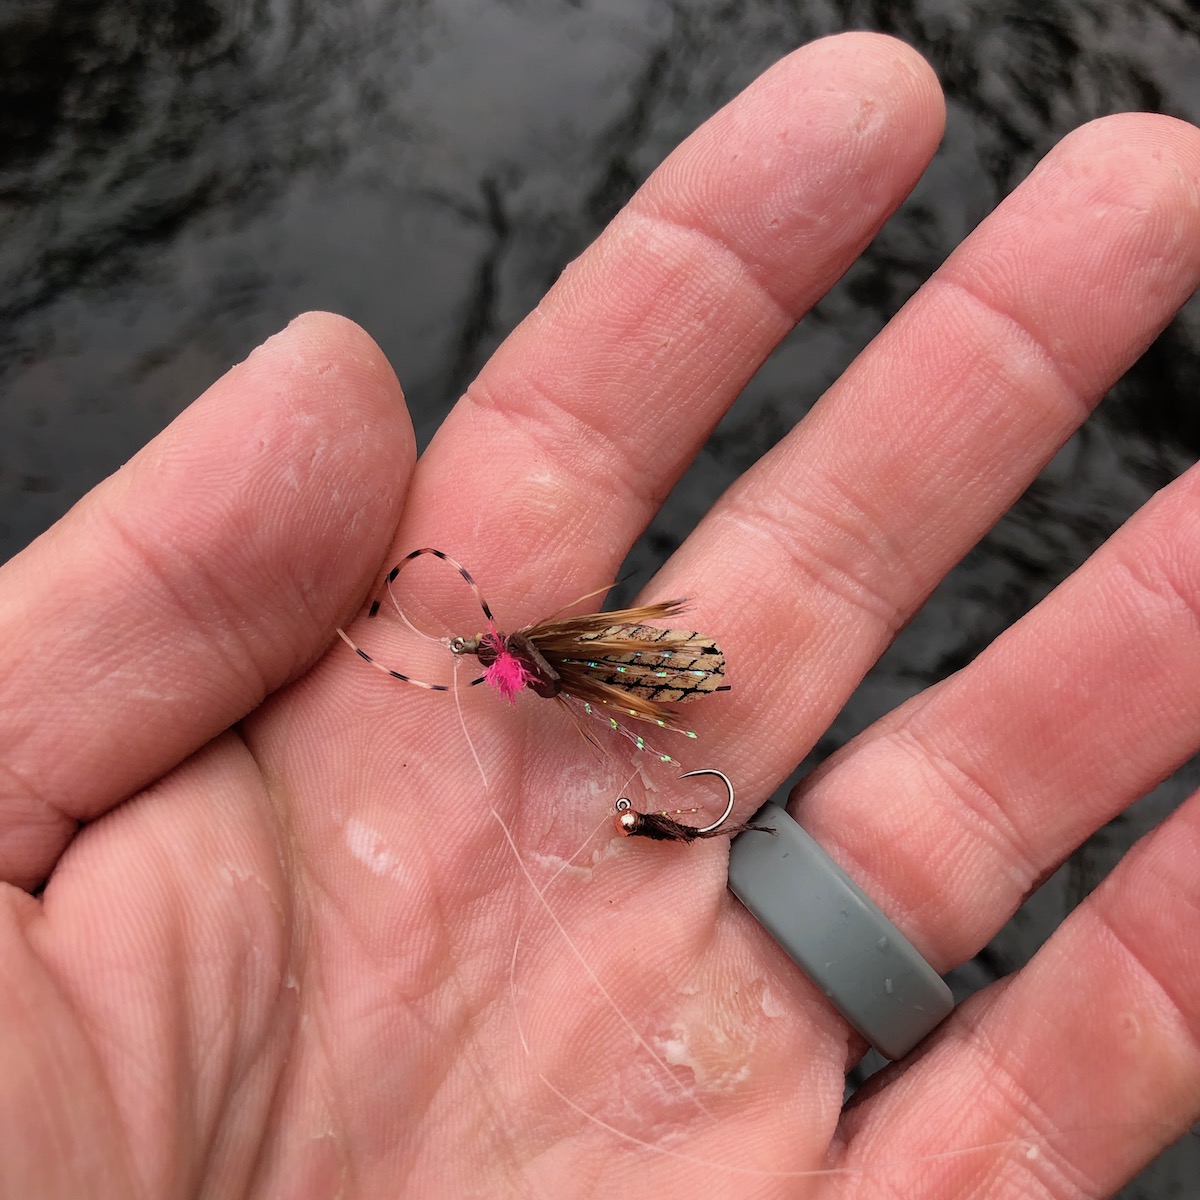
So, as you all know I like to have options in any of the systems that I fish. My suggestion is to try them all and see which one’s work best for you and adopt them to your systems or fine tune them to your liking. A couple of things I have prescribed to in my flyfishing is I don’t abide to two terms; never and always as there is the chance that on any given day things you can get thrown a curve ball. So be ready for it so you can hit out the park. Lastly you can always run the dry dropper this time of year, which is a very viable option, more on that in another post, and below is the exact set up that I have been having some great success with in the last few weeks on my home waters. Have fun and check your water temps.